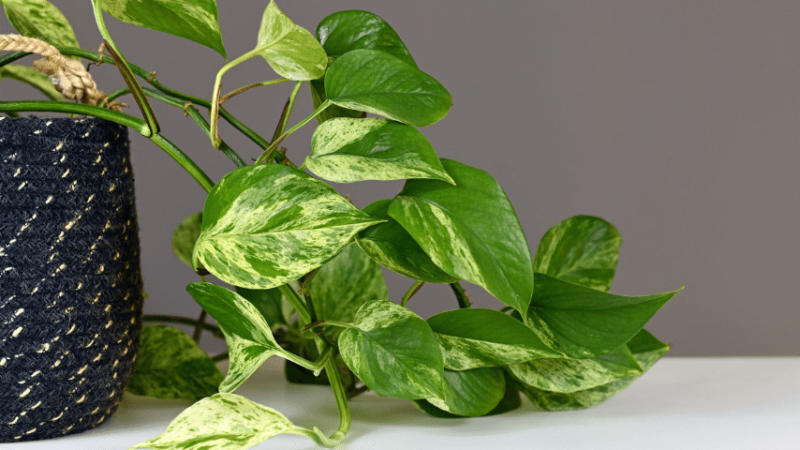
How to Get a Pothos Plant to Trail?
Climbing and trailing plants are super-hot in home décor right now.
Especially if you’re going for a kind of cottage core effect, which means making your house feel like a quaint, fairytale cottage.
I love using Pothos plants because they are easy to train to climb and trail from shelves or walls.
Pothos are also called Epipremnum aureum or Devils Ivy according to the University of Wisconsin.
They not only bring healthy greenery and life into your space, but they also act as wall décor.
I love creating lush effects by layering plants and trailing them around my favorite pictures.
I have created some of the neatest effects by surrounding pictures of Thomas Kincaid cottages and scenes from my favorite fairy tales,
like Hansel and Gretel and Babes in Toyland. Pothos are so easy to grow and, with a few tricks up your sleeve, easy to trail as well.
There are all kinds of colors of Pothos – such as the Marble Queen Pothos, which has beautiful green leaves swirled with white.
Today, I’ll tell you how I’ve learned to get a Pothos plant to the trail, easily and beautifully, read on!
Table of Contents
How to Get a Pothos Plant to Trail
The easiest way to get a Pothos plant to trail is to pick a planter that encourages healthy growth and to use hooks that help you position and trail your vines

Steps in Getting a Pothos Plant to Trail
Step 1: Encourage new growth for long tendrils to trail
Of course, to get a Pothos plant to the trail, you must also make sure it’s thriving enough to grow long vines that you can trail.
This means you want to follow a solid regimen of making sure the Pothos plant has nutrient-dense soil,
adequate light, just enough water, and healthy pruning to remove dead areas.
Step 2: Pick a planter that encourages long tendril growth
For growing my Pothos with long vines I can trail, I use a simple ceramic, glass, or plastic hanging or stationary planter.
The crucial factor for growing a healthy Pothos with long, tumbling vines is to select a pot with good drainage.
I look for a pot with one to two drainage holes on the bottom, which will allow my Pothos to thrive in a proper soil environment,
with soil that is just damp, not wet or soaked with water. Too much water is death for Pothos.

Step 3: Make sure to find a place to grow the Pothos with just the right light
Direct light can cause bleaching and discoloration of your Pothos plant.
What I do is make sure my Pothos plant gets light – but indirect light.
I do this by putting my Pothos plant in front of a window with wispy, sheer curtains over it.
This way, my Pothos plant gets just enough indirect light to thrive, or simply place your Pothos 2 to 3 inches away from the window.
You’ll know by the leaves. If they’re getting lighter, get away from the light more!
Step 4: Get soil with the right nutrient balance
Potting soil has the nutrients your Pothos plant needs to thrive.
I use potting soil with a pH of 6.1 to 6.6 and that seems to work well.
This way, your plant will grow long tendrils that you can trail all over your walls.
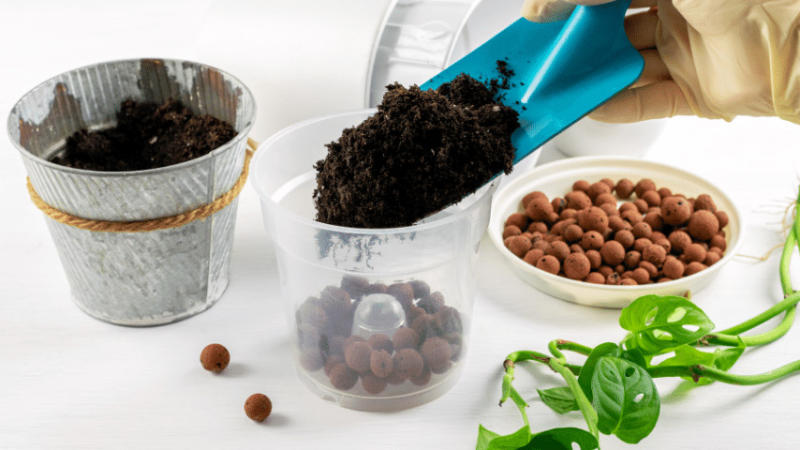
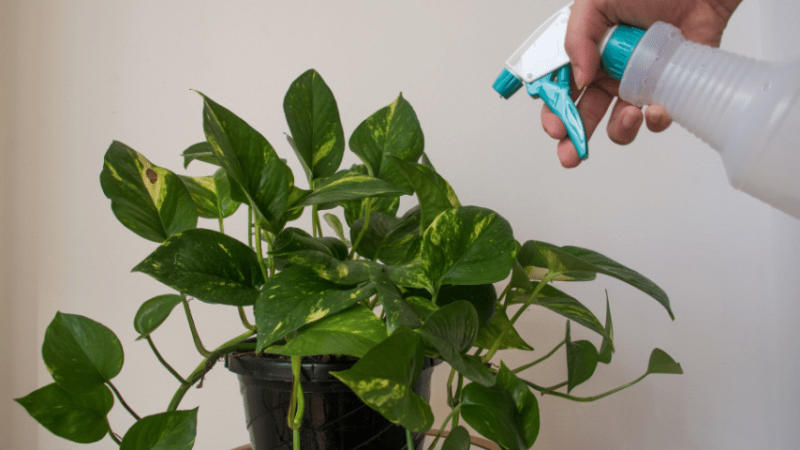
Step 5: Water Pothos, but don’t overwater them
The easiest way to kill a Pothos plant is to overwater it.
The trick I use to avoid overwatering them is to only water my Pothos when I feel there’s an inch of dry soil in the pot.
Then I water, but not liberally – just until the soil is hydrated, not soaked.
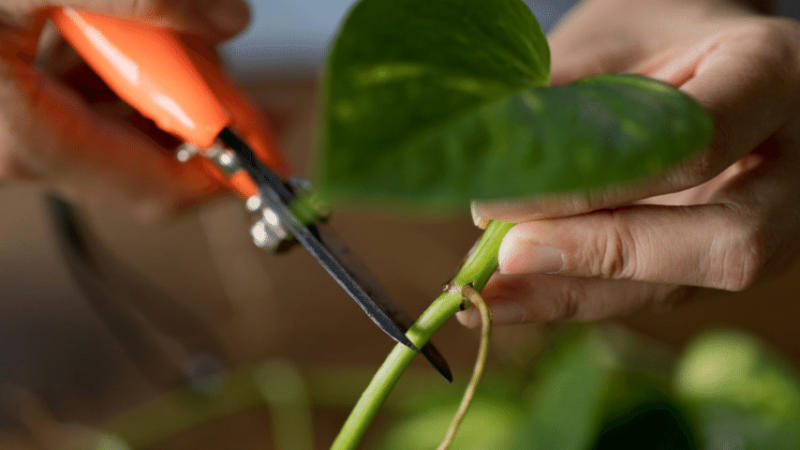
Step 6: To encourage long tendril growth, prune Pothos regularly
I prune my Pothos plant at least once every three to four weeks.
First, I locate any brown areas or areas where I can tell no growth is happening. Then, I trim these back to just beneath a leaf node.
Pruning like this assures that nutrients are flowing through the plant and not getting stuck in dead plant stems.
Step 7: Encourage vertical growth and provide stability
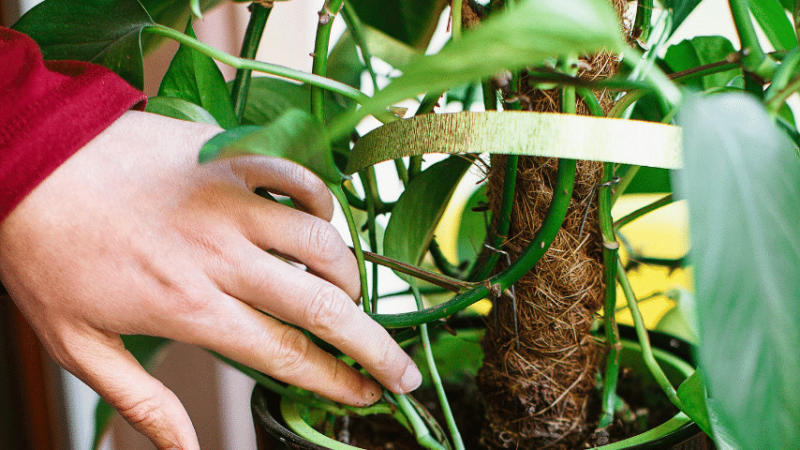
I use thin wooden stakes (available at any hardware, gardening, or art supply store) and string to encourage the vertical growth of my Pothos plant.
I gently tie the Pothos vines to these stakes and this gives the base of the vines the strength they need to support the plant as well.

Step 8: Use hooks to create decorative effects
I love using clear, plastic hooks to trail my pothos vines all over the wall. I often see people on the web recommending clear tape or staples.
But I’ve found that it is so easy to mistakenly cut into the vines this way,
which often causes brown spots, decay, or vine death and then you have to cut your stems back pretty short sometimes.
Cutting back your tendrils defeats the whole purpose, right? So, I use clear hooks.
These are cheap, they’re almost impossible to see, and even if you can see them, still look nice.
I’ve also seen people use gold or silver hooks for a nice effect.

How to get ideas for Pothos arrangements
The web is full of ideas for arranging your vines decoratively.
Also, you can experiment with simply arranging the vines around with your fingers until you see an effect emerge that you want to duplicate.
Then place your hooks and start to create your tendril wall art.
Soon, you’ll have a pothos wall full of lush, green, tendrils full of vibrant, green, heart-shaped leaves that you will adore.
Frequently Asked Questions About How to Get a Pothos Plant to Trail
Are there any dangers of growing Pothos plants indoors?
You don’t want a Pothos plant to lodge into a crack in the wall and grow.
This is because they grow quickly and can get large enough to cause cracks in walls to spread and get bigger.
It’s the same way with outdoor ivy varieties, you don’t want them to lodge in cracks in your foundation for the same reason!
What kind of pot is best for growing Pothos?
Great question! Any hanging or stationary ceramic or plastic pot that has at least one drainage hole is best.
You need this drainage hole to keep the soil just moist enough to encourage growth. One thing that will kill a Pothos plant is too much water.
Conclusion On How to Get a Pothos Plant to Trail
Pothos plants are a lovely way to create a lush wall full of green tendrils that you can arrange in many decorative effects.
They are low-maintenance, easy-to-grow plants that you can enjoy for years and years.
Read about Anthurium Queremalense care next.

